
If you’re building a gaming PC, then you’ll want to make sure you get a good motherboard that can handle all the different components. You’ll also want to make sure it has plenty of features and expansion options. This article will tell you how to connect Rgb fans to motherboard.
RGB fans are computer cooling fans that feature built-in RGB LEDs, which can produce a wide range of colors. These fans offer a great way to add some style to your gaming rig, and they can also help improve airflow and cooling performance.
There are a few things to keep in mind when shopping for RGB fans. First, you’ll need to make sure that the fan is compatible with your motherboard’s RGB header. Most RGB fans will work with popular RGB control software like Corsair’s iCUE or Asus’ Aura Sync, but it’s always good to double-check before buying.
Also read- Best gaming chair for pc.
Is My Motherboard Compatible With RGB Fans?
RGB fans are a great way to add some personality to your PC, and they can also help improve its cooling performance. But before you go out and buy a set of RGB fans, you’ll need to make sure that your motherboard is compatible with them.
Most RGB fans will come with a controller that plugs into a standard 4-pin RGB header on your motherboard. If your motherboard doesn’t have an RGB header, you won’t be able to use RGB fans. Some motherboards will have an adapter that allows you to convert one of the existing headers (usually the CPU fan header) into an RGB header, but not all motherboards will have this.
Another thing to keep in mind is that not all RGB fans are created equal. Some RGB fans will have special features that require specific headers on your motherboard. For example, some RGB fans can be daisy-chained together to create a longer string of lights, but this will require a special header on your motherboard.
Before you buy RGB fans, be sure to check the compatibility of both the fans and your motherboard to avoid any headaches down the road.
You can also check out this amazing article about Motherboard – How to Remove CPU Stuck to Motherboard
How To Connect The Fans To Motherboard?
The motherboard has many fan connectors. The most common are 3-pin and 4-pin. When connecting the fan to the motherboard, you need to find out which kind of fan hector the motherboard have. If your motherboard has a 4-pin fan connector, you can connect the 3-pin fan to it. But if your motherboard only has a 3-pin fan connector, then you can’t connect the 4-pin fan to it.
3-pin and 4-pin fan connectors are the most common types of fan connectors found on motherboards. 3-pin fan connectors are usually used for CPU fans, while 4-pin fan connectors are usually used for case fans. If your motherboard has a 4-pin fan connector, you can connect a 3-pin fan to it. However, if your motherboard only has a 3-pin fan connector, then you cannot connect a 4-pin fan to it.
The most common type of fan connector found on motherboards is the 3-pin or 4-pin connector. 3-pin fan connectors are typically used for CPU fans, while 4-pin fan connectors are used for case fans. If your motherboard has a 4-pin fan connector, you can connect a 3-pin fan to it. However, if your motherboard only has a 3-pin fan connector, then you cannot connect a 4-pin fan to it.
When connecting the fan to the motherboard, you also need to pay attention to the rotation direction of the fan. Some fans have a switch on them that allows you to change the rotation direction. Make sure that the rotation direction is correct
How To Connect The RGB Fans To Motherboard?
Rgb fans are becoming increasingly popular in the PC gaming community. Many gamers enjoy the colorful lights and effects that these fans can create. However, some gamers are unsure of how to connect rgb fans to their motherboard. This article will provide a step-by-step guide on how to do this.
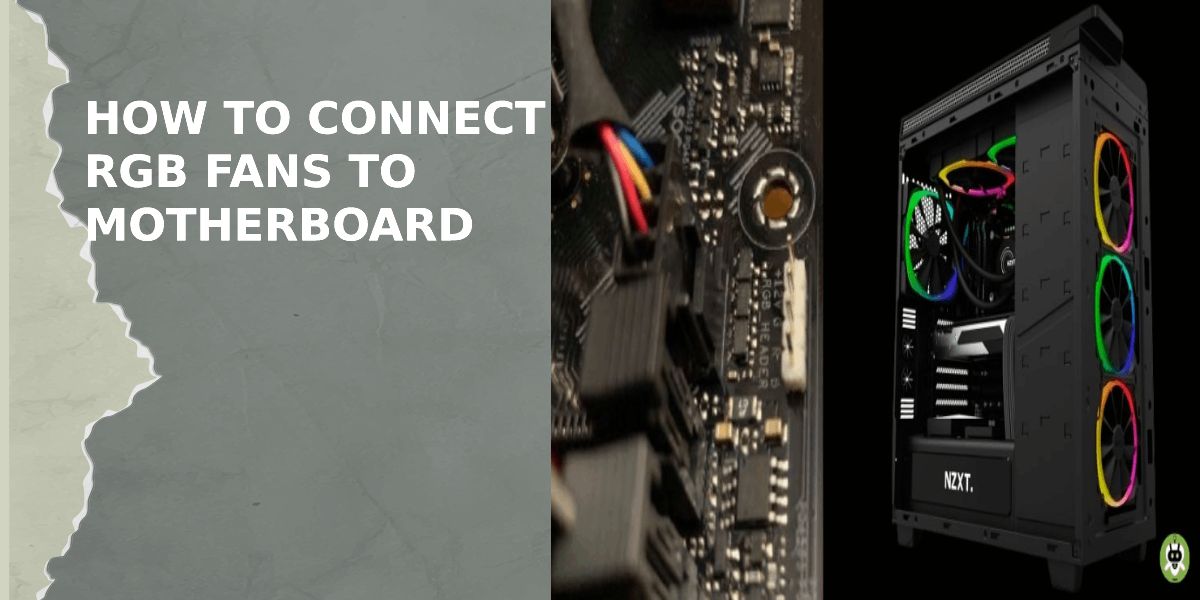
- Firstly, you will need to identify the RGB header on your motherboard. This is usually indicated by a series of colors (usually red, green, and blue).
- Once you have located the RGB header, you will need to connect the positive (red) lead from the fan to the positive (red) header on the motherboard. Likewise, you will need to connect the negative (black) lead from the fan to the negative (black) header on the motherboard.
- Finally, you will need to connect the ground (usually green or white) lead from the fan to the ground (usually green or white) header on the motherboard.
Once you have completed these steps, your RGB fan should be successfully connected to your motherboard. You can now enjoy the colorful lights and effects that these fans can create.
What Is Addressable RGB Fans?
Addressable RGB fans are computer cooling fans that can create various lighting effects using a built-in control box and an addressable RGB controller. The control box allows the user to change the fan speed and lighting mode, while the controller can be used to create unique lighting effects and patterns.
Addressable RGB fans are available in a variety of sizes, shapes, and styles, making them a great option for both gaming PCs and workstations. Most addressable RGB fans come with a remote control, which makes it easy to change the fan speed and lighting mode on the fly. Some models even come with built-in temperature sensors, so you can ensure your system stays cool no matter how intense the action gets.
No matter what your budget or needs are, there’s an addressable RGB fan out there that’s perfect for you. So, if you’re looking to add some style and flair to your PC, make sure to check out our list of the best addressable RGB fans.
Check out ThunderBot to know more about Motherboard, Monitors, and much more tech-related stuff.
How To Connect RGB To 3-Pin 5V Header?
If you have a 3-pin 5V header on your motherboard, you can connect an RGB light strip directly to it. Most RGB lighting kits come with a controller that plugs into an available USB header on your motherboard, and that controller usually has its own software for controlling the lights. However, if you want to forego the controller and connect the lights directly to the header, that’s also possible.
To do this, you’ll need an RGB light strip that has a 3-pin connector (sometimes called an SMD5050 connector). You can find these strips online or at your local electronics store. Once you have the strip, simply connect it to the header on your motherboard. Make sure that the +5V (red) wire is connected to the +5V pin on the header, the ground (black) wire is connected to a ground pin, and the data (white or yellow) wire is connected to the data pin.
Now, when you power on your computer, the RGB lights should turn on and be controlled by your motherboard’s lighting software. If you don’t have any lighting software installed, you can usually download it from your motherboard manufacturer’s website.
That’s how you connect an RGB light strip directly to a 3-pin 5V header on your motherboard.
Conclusion
RGB fans are a great way to add some style and flair to your PC. However, some gamers are unsure of how to connect RGB fans to their motherboard. This article will provide a step-by-step guide on how to do this.
Hope this article has helped you. If you have any questions then let us know in the comment section. Thanks for reading.